About us
Our company was founded in 2014. We started with the idea that our expertise in navigation and control could be applied to the latest advances in inertial and GNSS technology, resulting in products that achieve unprecedented performance in a minimal footprint. This idea has led us to create solutions that redefine what is possible in modern inertial navigation technology - technology with which you can stay ahead of your competitors and succeed in a demanding market. We have a standard…
What we offer
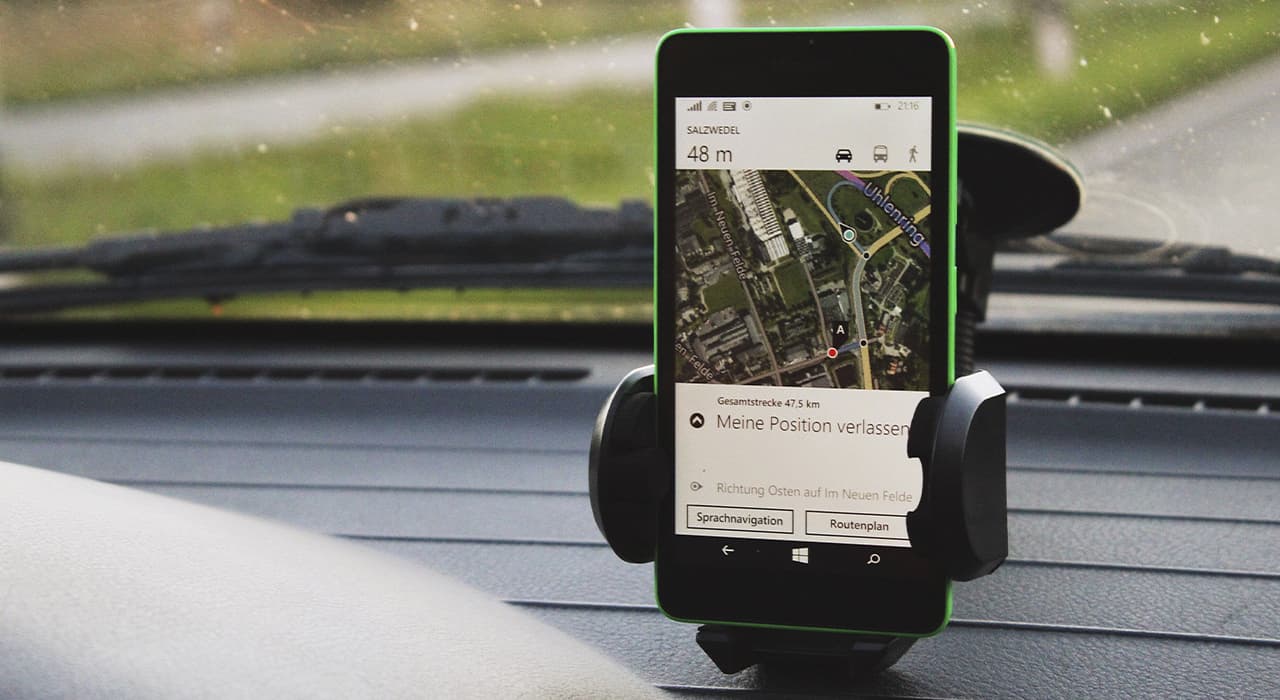
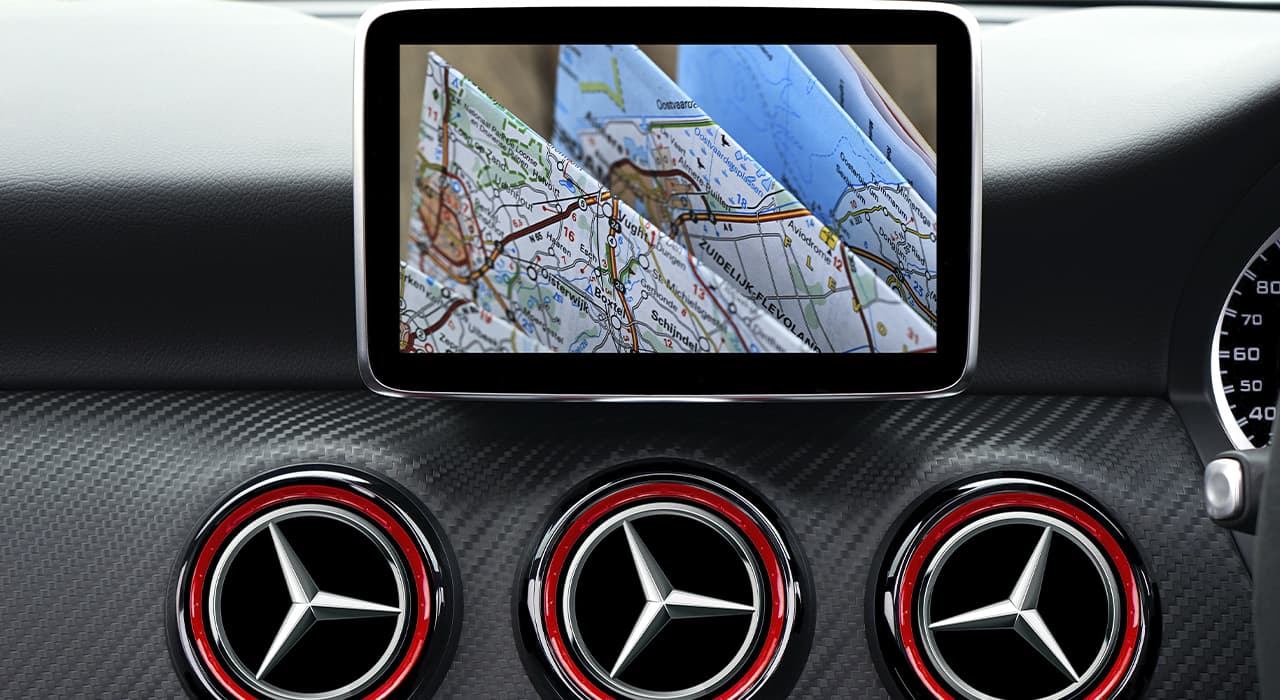
Satellite navigation system development
GNSS - Global Navigation Satellite System. A system that has been developed to determine the coordinates of land, water, and…

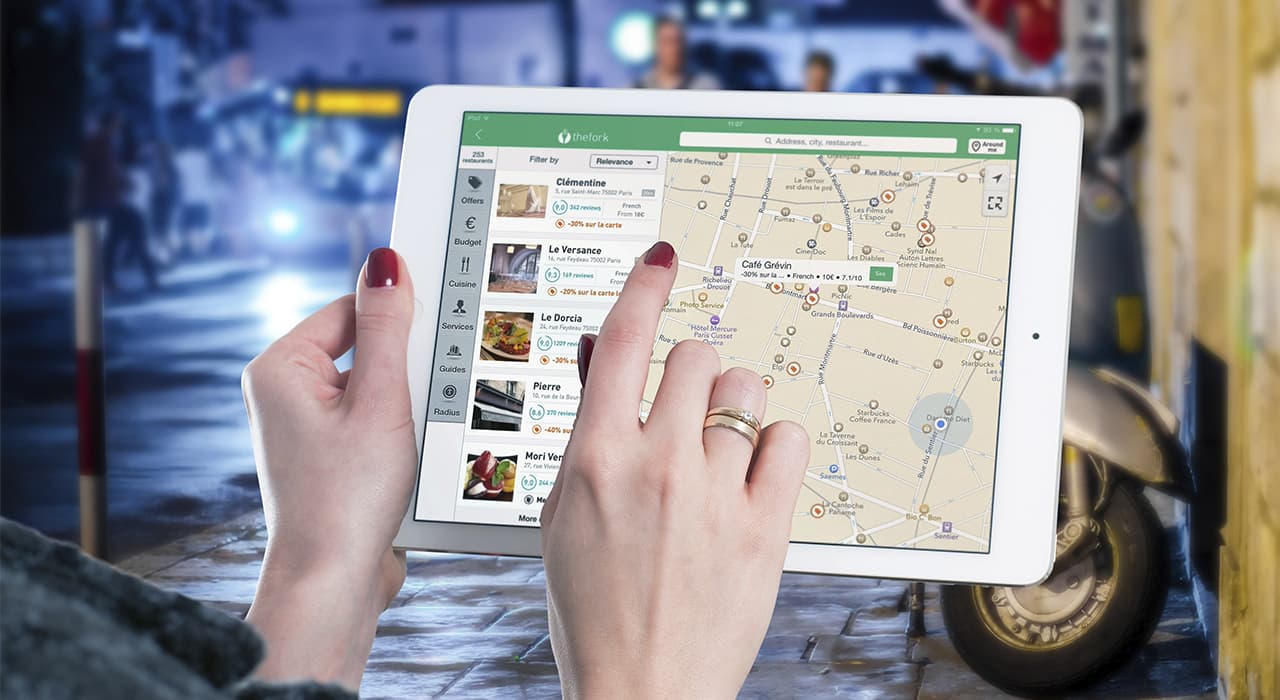
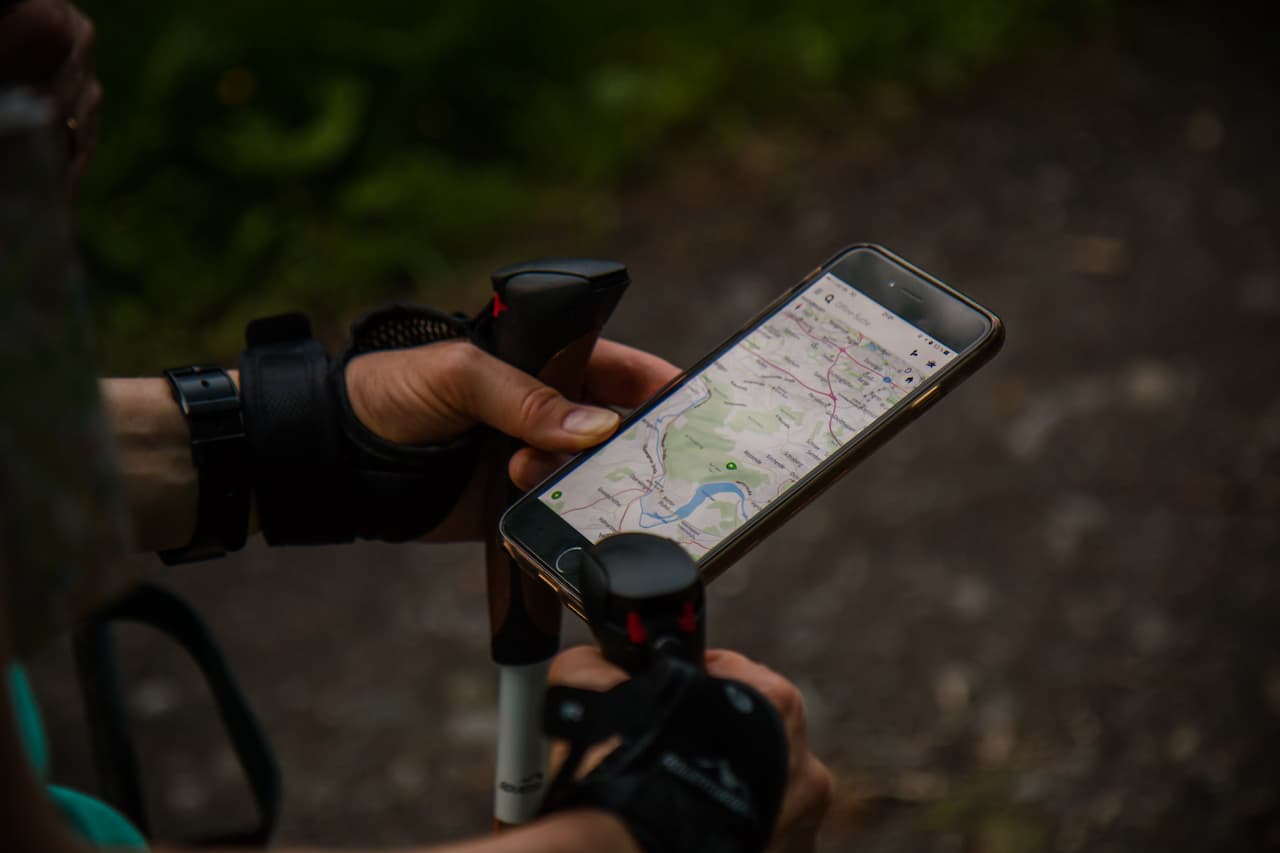
Visual navigation
Our company designs navigation systems of any complexity: inside buildings, adjacent areas, parking lots. You can order a visual navigation…

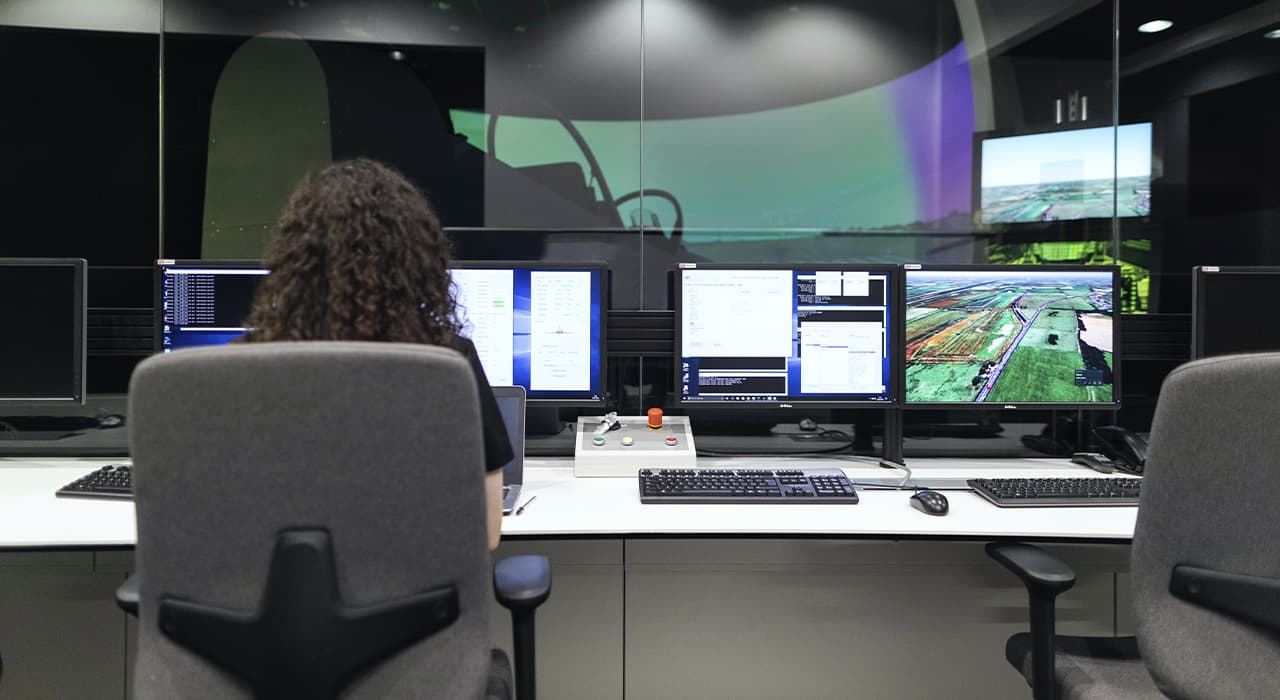
Design of the navigation system
The main goal of the visual navigation design project is the proper movement of people and visitor groups in general…
About our products

Our team

Grover Clark
Company director

Sharron Bennett
Chief Engineer

Robert Oakley
Technologist

Aliza Roberts
Technologist
years in development
developed products
partner companies from all over the world
satisfied customers
We’ve Helped The Following Brands

Upgrade your medical wardrobe with the ultimate selection of stylish and comfortable uniforms! From a variety of colors, materials and designs to choose from, you'll find the perfect ensemble for every shift.
Innowise specializes in mobile app development services, crafting tailored solutions for enhanced user experiences across various industries.

Cat GPS tracker will help you to spot the location of your cat.

Who called me? Finding out who called can be a mystery, but we'll help you solve the puzzle of that unknown number here.

Compare prices for the new production of the Marlin 1895 SBL for sale by Ruger, and see how it compares to the previous versions made by Remington or Marlin.

Transform your customer service with Modern SaaS Call Centers, leveraging the latest technology for unparalleled efficiency and satisfaction. Click here to elevate your call center operations to new heights.

YouTube to MP3 app that is helping millions of users to convert audio for free on PC, Mac and Ubuntu.
Elevate your business's international presence with Prifinance's expert legal and corporate services, navigating the complexities of global markets with ease.
Our blog


18
Sep

21
Feb

23
Jun

0